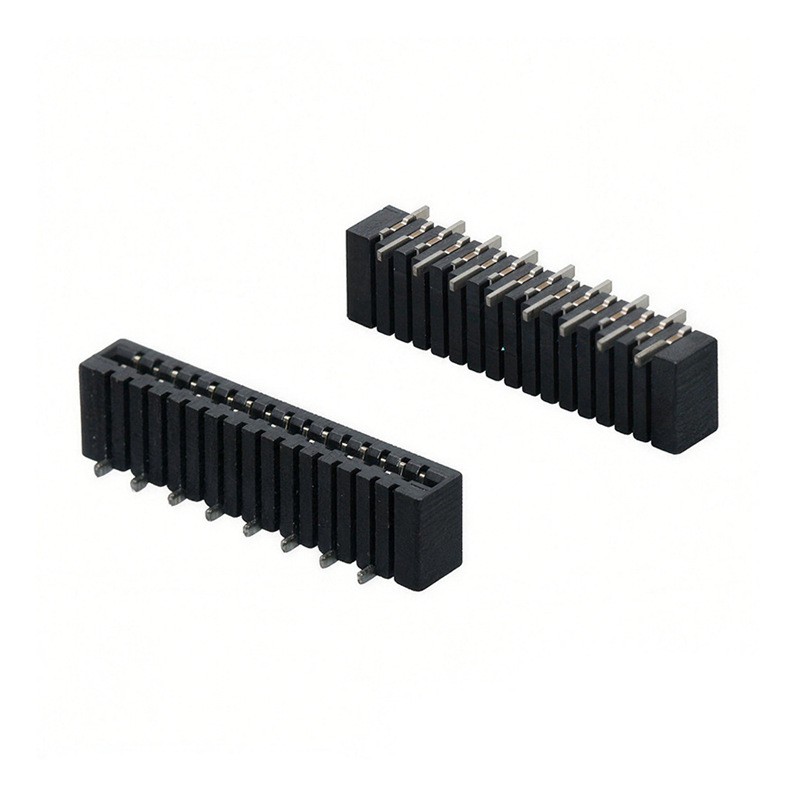
Hey there! I'm a supplier of THR connectors, and today I'm gonna walk you through how to replace a damaged THR connector. Whether you're a DIY enthusiast or a professional in the electronics field, this guide will come in handy.
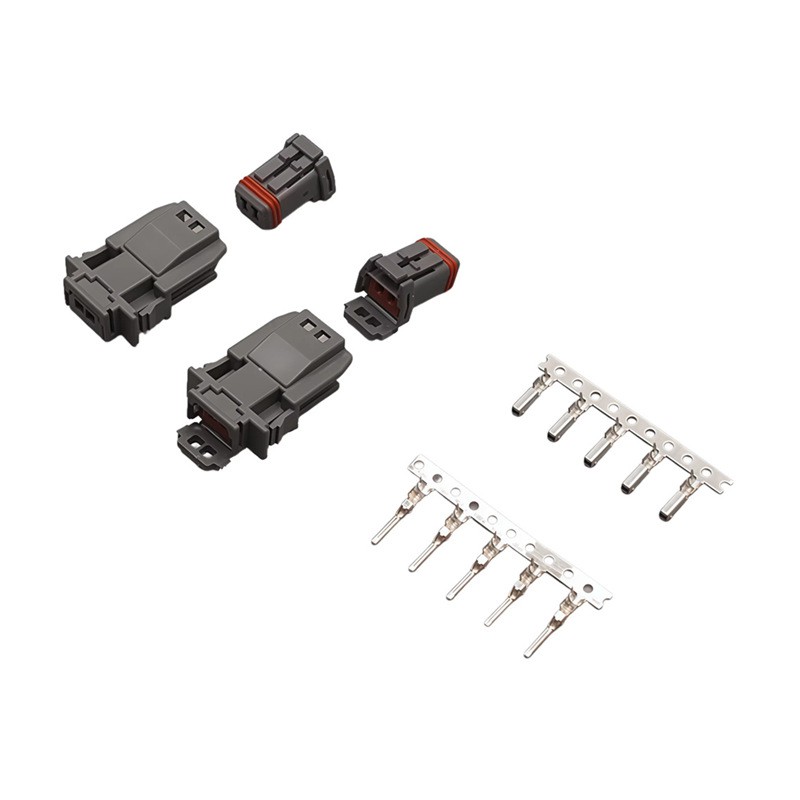
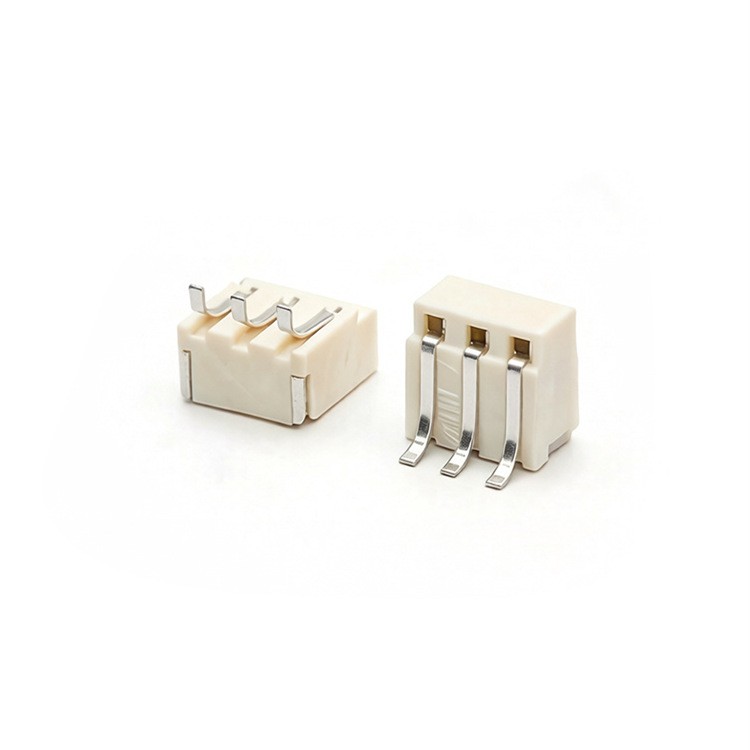
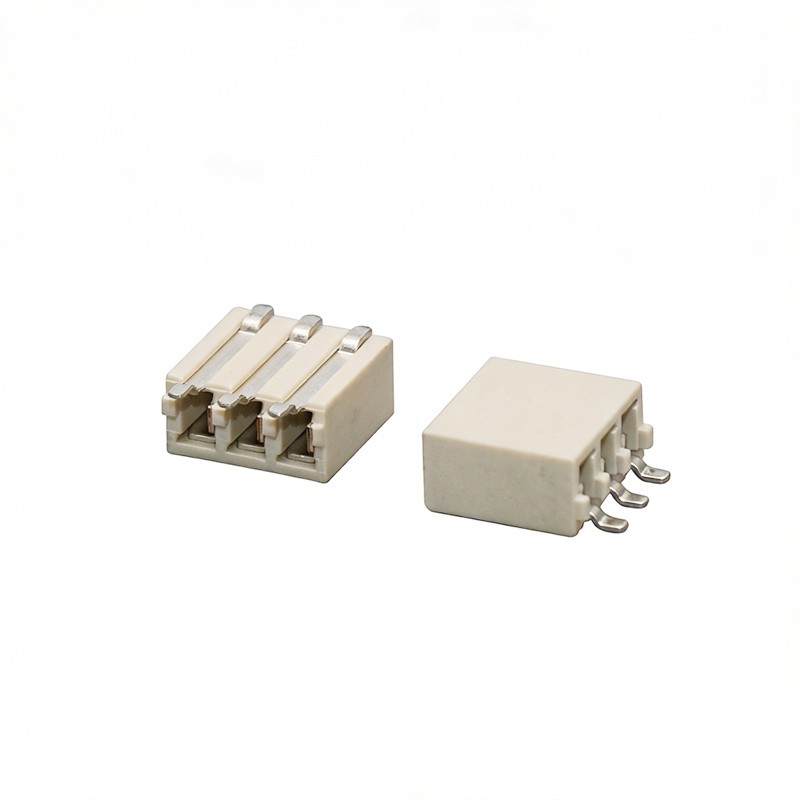
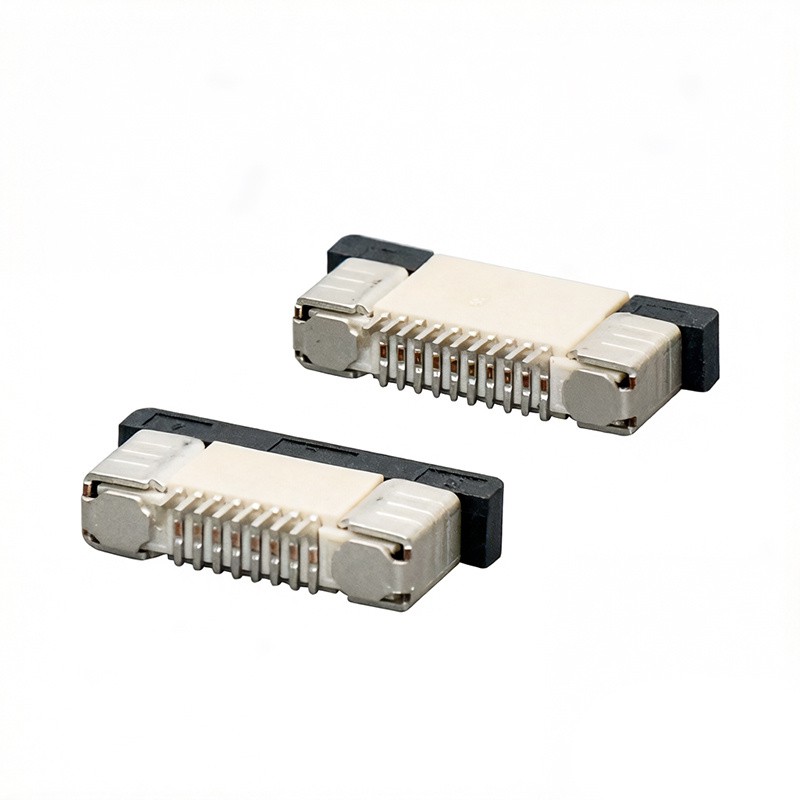
First things first, let's understand what a THR connector is. THR stands for Through-Hole Reflow, and these connectors are widely used in the electronics industry. They're designed to be soldered onto printed circuit boards (PCBs) using the reflow soldering process. They come in different types, like Standard Electrical Connectors, New Electrical Connectors, and Micro Electrical Connectors.
Tools You'll Need
Before you start replacing the damaged THR connector, you'll need to gather a few tools. Here's what you'll need:
- Soldering Iron: A good quality soldering iron with a fine tip is essential. You want to be able to heat up the solder joints precisely without damaging the surrounding components.
- Solder Wick: This is used to remove the old solder from the PCB. It's a braided copper wire that absorbs the molten solder when heated.
- Desoldering Pump: Another option for removing the old solder is a desoldering pump. It sucks up the molten solder when you press the plunger.
- Flush Cutters: You'll need these to trim the leads of the new connector.
- Tweezers: Tweezers are useful for handling small components and positioning the new connector on the PCB.
- Isopropyl Alcohol: This is used to clean the PCB after removing the old connector. It helps to remove any residual solder and flux.
Step 1: Prepare the Workspace
It's important to have a clean and organized workspace. Make sure you have good lighting and a stable surface to work on. You might also want to use an anti-static mat to prevent static electricity from damaging the components.
Step 2: Remove the Damaged Connector
The first step in replacing the damaged THR connector is to remove it from the PCB. Here's how you do it:
- Heat the Solder Joints: Use the soldering iron to heat up the solder joints on the underside of the PCB. Make sure the solder is fully molten before moving on to the next step.
- Remove the Solder: You can use either solder wick or a desoldering pump to remove the molten solder. If you're using solder wick, place it over the solder joint and heat it with the soldering iron. The solder will be absorbed into the wick. If you're using a desoldering pump, press the plunger to create a vacuum and suck up the molten solder.
- Remove the Connector: Once all the solder has been removed, you should be able to gently pull the damaged connector off the PCB. If it's still stuck, you may need to heat up the solder joints again and try to remove it.
Step 3: Clean the PCB
After removing the damaged connector, it's important to clean the PCB to remove any residual solder and flux. Here's how you do it:
- Apply Isopropyl Alcohol: Use a cotton swab or a small brush to apply isopropyl alcohol to the area where the connector was located.
- Scrub the PCB: Gently scrub the PCB with the cotton swab or brush to remove any dirt, debris, or residual solder.
- Dry the PCB: Use a clean, dry cloth to dry the PCB. Make sure it's completely dry before moving on to the next step.
Step 4: Prepare the New Connector
Before installing the new connector, you'll need to prepare it. Here's how you do it:
- Trim the Leads: Use the flush cutters to trim the leads of the new connector to the appropriate length. Make sure they're not too long or too short.
- Bend the Leads: If necessary, bend the leads of the new connector to match the holes on the PCB. You can use a pair of pliers to do this.
Step 5: Install the New Connector
Now it's time to install the new connector. Here's how you do it:
- Position the Connector: Use the tweezers to position the new connector on the PCB. Make sure the leads are aligned with the holes on the PCB.
- Solder the Leads: Use the soldering iron to heat up the leads of the connector and the holes on the PCB. Apply a small amount of solder to each lead, making sure it flows smoothly into the hole.
- Check the Solder Joints: Once you've soldered all the leads, check the solder joints to make sure they're clean and free of any defects. You can use a magnifying glass to inspect the joints.
Step 6: Test the Connector
After installing the new connector, it's important to test it to make sure it's working properly. Here's how you do it:
- Connect the Device: Connect the device that uses the THR connector to the PCB.
- Power On the Device: Turn on the device and check if it's working properly. If it's not, you may need to check the solder joints and make sure they're secure.
Conclusion
Replacing a damaged THR connector may seem like a daunting task, but with the right tools and a little patience, it can be done. By following the steps outlined in this guide, you should be able to replace the connector and get your device up and running again in no time.
If you're in the market for THR connectors, we've got you covered. We offer a wide range of high-quality THR connectors, including Standard Electrical Connectors, New Electrical Connectors, and Micro Electrical Connectors. If you have any questions or would like to discuss your procurement needs, feel free to reach out. We're here to help you find the best solutions for your projects.


References
- Electronics Manufacturing Handbook
- Guide to PCB Assembly and Repair