Hey there, electronics enthusiasts! If you're into designing circuits, you know how crucial it is to pick the right components. Today, I'm gonna share some tips on how to design a circuit with right angle header connectors. As a supplier of these connectors, I've seen firsthand how they can make or break a project.


Understanding Right Angle Header Connectors
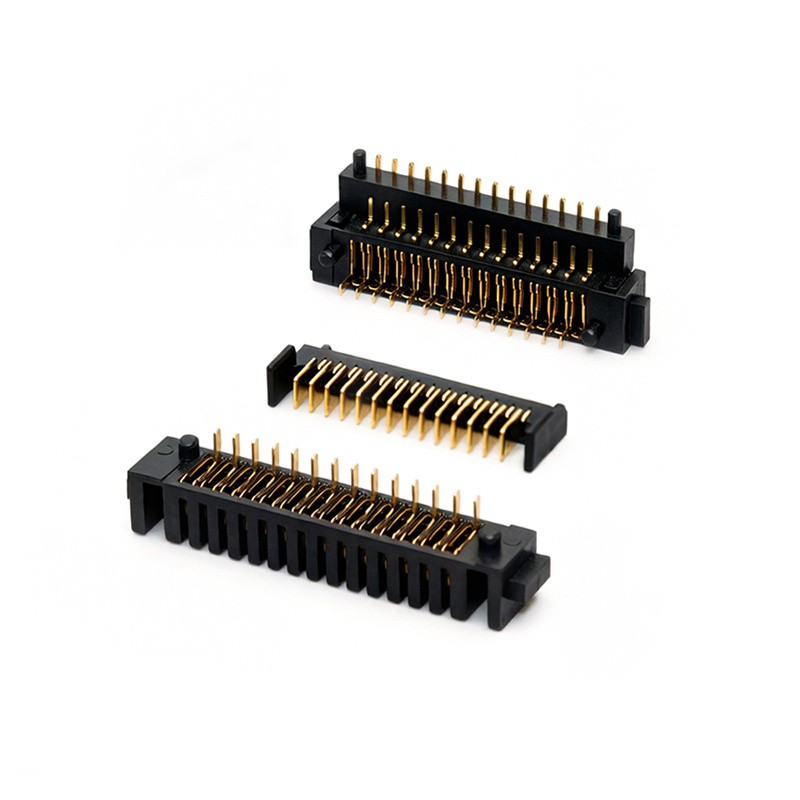
First things first, let's talk about what right angle header connectors are. These are connectors that have pins arranged at a 90-degree angle to the circuit board. They're super handy when you need to save space or when you want to connect components in a specific orientation.
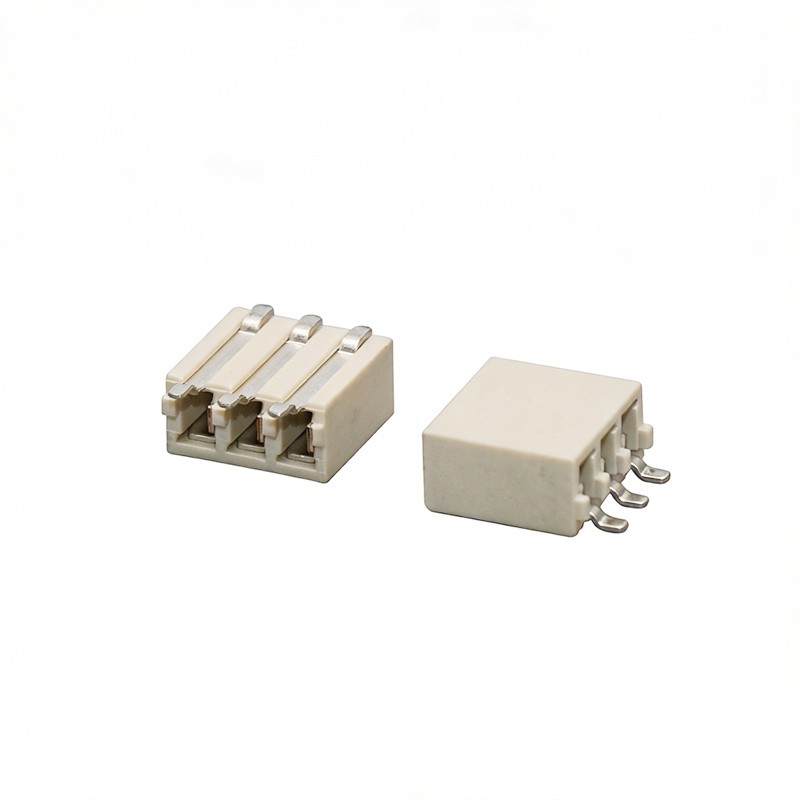
There are different types of right angle header connectors available. For instance, the 2mm Header Connector is a popular choice for many projects. It's small and can fit in tight spaces, making it ideal for compact circuits.
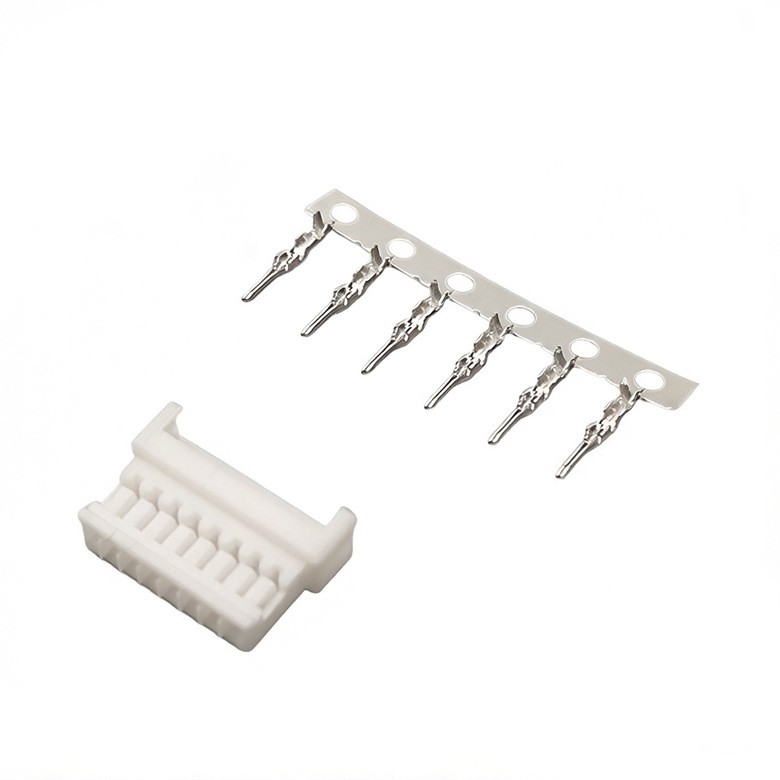
Another type is the Jumper Header Connector. These are used to create temporary connections or to change the configuration of a circuit easily. They're great for prototyping and testing.
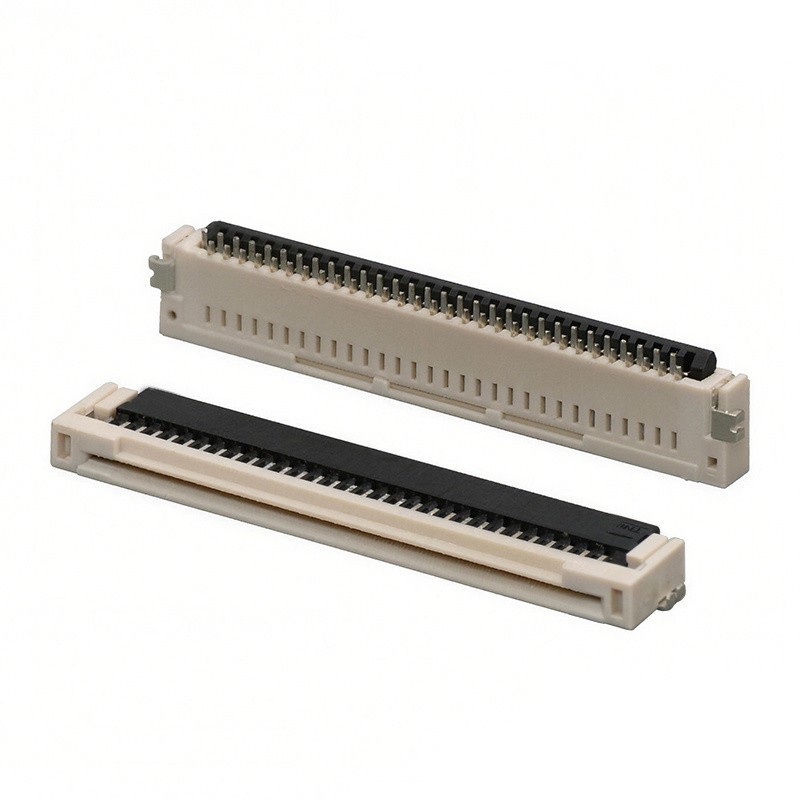
And then there's the Low Profile Header Connector. As the name suggests, these connectors have a low height, which is perfect for applications where space is limited.
Planning Your Circuit Design
Before you start soldering, you need to have a clear plan for your circuit. Think about what components you'll be using and how they'll be connected. Draw a schematic diagram to visualize the layout of your circuit.
When it comes to placing the right angle header connectors, consider the following:
- Orientation: Decide whether you want the connectors to be facing up, down, or to the side. This will depend on the overall design of your circuit and how it will be installed.
- Spacing: Make sure there's enough space between the connectors to avoid short circuits. You also need to consider the spacing between the pins on the connectors themselves.
- Compatibility: Ensure that the connectors you choose are compatible with the other components in your circuit. Check the pinout and the voltage ratings to make sure everything will work together.
Selecting the Right Connectors
Once you have a plan, it's time to select the right right angle header connectors for your project. Here are some factors to consider:
- Pin Count: The number of pins on the connector will depend on the number of connections you need to make. Make sure you choose a connector with enough pins for your circuit.
- Pitch: The pitch is the distance between the pins on the connector. It's important to choose a connector with the right pitch for your circuit board. Common pitches include 2.54mm, 2mm, and 1.27mm.
- Material: The material of the connector can affect its performance and durability. Common materials include plastic and metal. Plastic connectors are lightweight and inexpensive, while metal connectors are more durable and can handle higher currents.
Soldering the Connectors
Soldering is a crucial step in the circuit design process. Here are some tips to help you solder the right angle header connectors correctly:
- Prepare the Circuit Board: Clean the circuit board to remove any dirt or debris. You can use a soldering iron to heat up the pads on the board and apply a small amount of solder.
- Position the Connector: Place the connector on the circuit board and make sure it's aligned correctly. You can use a pair of tweezers to hold the connector in place.
- Solder the Pins: Heat up the soldering iron and apply it to the pins on the connector. Once the solder melts, apply a small amount of solder to the joint. Make sure the solder flows evenly around the pin.
- Check the Connections: After soldering, check the connections to make sure they're secure. You can use a multimeter to test the continuity of the connections.
Testing Your Circuit
Once you've soldered the connectors and assembled your circuit, it's time to test it. Here are some steps to follow:
- Power On: Connect the power supply to your circuit and make sure everything is working properly. Check for any signs of overheating or short circuits.
- Test the Connections: Use a multimeter to test the voltage and continuity of the connections. Make sure the voltage is within the expected range and that there are no breaks in the circuit.
- Check the Functionality: Test the functionality of your circuit by running some tests or using a test program. Make sure everything is working as expected.
Troubleshooting
If you encounter any problems with your circuit, don't worry. Here are some common issues and how to troubleshoot them:
- Short Circuits: If you have a short circuit, check for any loose connections or solder bridges. You can use a magnifying glass to inspect the circuit board and look for any signs of damage.
- Poor Connections: If you have poor connections, check the solder joints to make sure they're secure. You can re-solder the joints if necessary.
- Incorrect Pinout: If you have an incorrect pinout, double-check the schematic diagram and make sure you've connected the components correctly.
Conclusion
Designing a circuit with right angle header connectors can be a fun and rewarding experience. By following these tips, you can ensure that your circuit is designed correctly and works properly. If you have any questions or need help with your project, feel free to reach out to us. We're here to help you find the right connectors for your needs.
So, what are you waiting for? Start designing your circuit today and see what you can create!
References
- Electronic Circuit Design Handbook
- Connector Manufacturing Standards