Hey there, fellow electronics enthusiasts! I'm a supplier of Shrouded Header Connectors, and today I'm going to walk you through the process of soldering these connectors. Whether you're a DIY hobbyist or a professional in the electronics industry, this guide will help you get the job done right.
Why Shrouded Header Connectors?
Before we dive into the soldering process, let's quickly talk about why Shrouded Header Connectors are so popular. These connectors are designed with a protective shroud around the pins, which helps prevent short circuits and provides mechanical support. They're commonly used in a variety of applications, from consumer electronics to industrial equipment. If you're interested in other types of header connectors, check out our Jumper Header Connector and 2mm Header Connector pages.
Tools and Materials You'll Need
To solder a Shrouded Header Connector, you'll need the following tools and materials:
- Soldering Iron: A good quality soldering iron with a fine tip is essential. Make sure it's set to the appropriate temperature for the type of solder you're using.
- Solder: Choose a high-quality solder that's suitable for electronics. Lead-free solder is a popular choice these days.
- Flux: Flux helps the solder flow and adhere to the pins and the PCB. You can use a flux pen or liquid flux.
- PCB: The printed circuit board where you'll be soldering the connector.
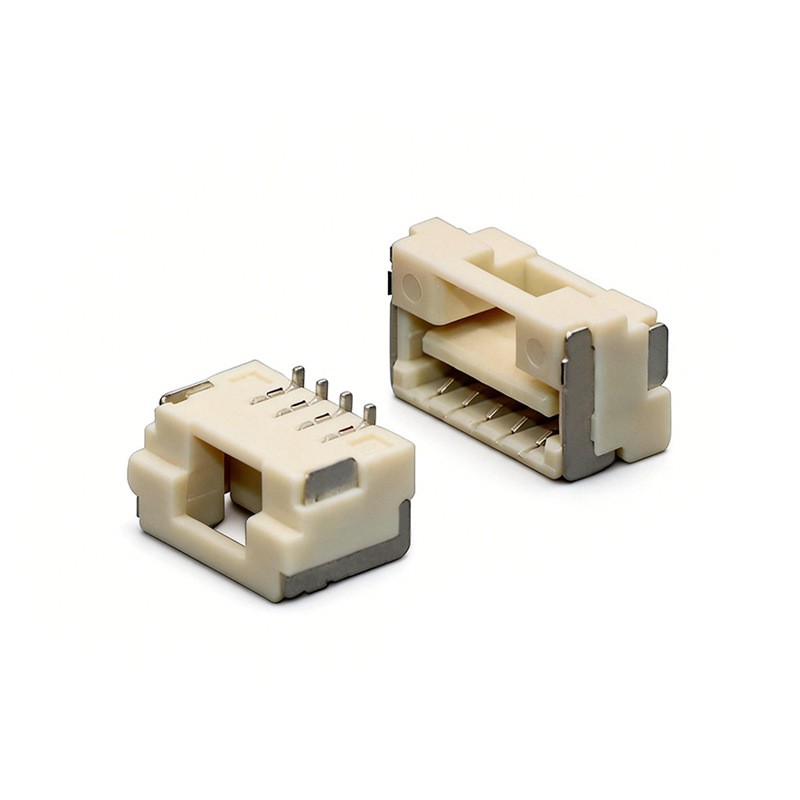
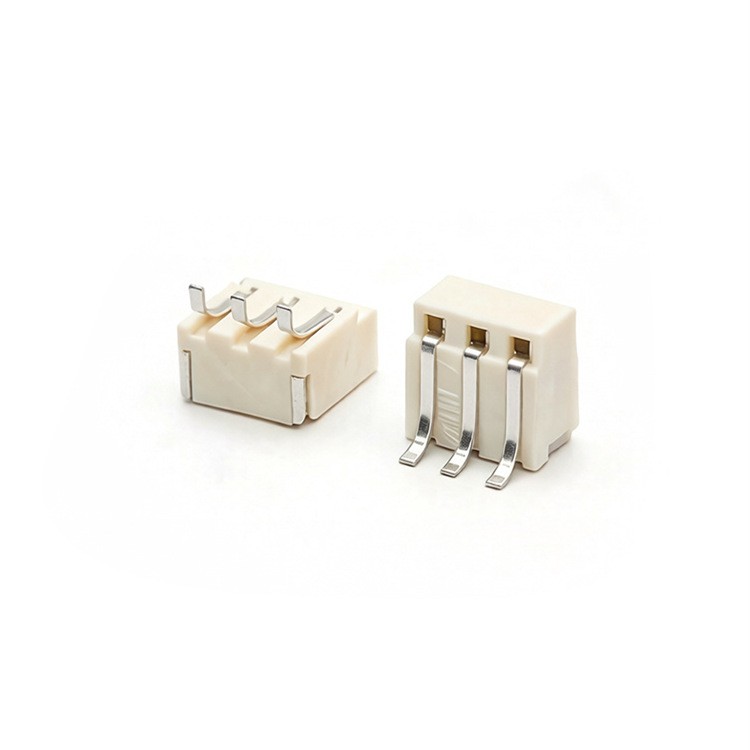
- Shrouded Header Connector: Of course, you'll need the connector itself. Make sure it's the right size and pitch for your application. You can find a wide range of Shrouded Header Connectors on our Shrouded Header Connector page.
- Desoldering Tool: In case you make a mistake, a desoldering tool like a solder wick or a desoldering pump can come in handy.
- Magnifying Glass: This can help you see the small pins and solder joints more clearly.
Step-by-Step Soldering Process
Now that you have all the tools and materials ready, let's get started with the soldering process.


Step 1: Prepare the PCB
- First, clean the PCB where you'll be soldering the connector. Use a PCB cleaner or isopropyl alcohol to remove any dirt, grease, or oxidation.
- Make sure the holes in the PCB are clean and free of debris. You can use a small drill bit or a pin to clear any blockages.
Step 2: Position the Connector
- Carefully place the Shrouded Header Connector on the PCB, aligning the pins with the holes. Make sure the connector is sitting flat and straight.
- You can use a small piece of tape to hold the connector in place while you solder.
Step 3: Tin the Pins
- Before soldering, it's a good idea to tin the pins of the connector. This means applying a thin layer of solder to the pins to make them easier to solder.
- Heat the tip of the soldering iron and touch it to the pin. Then, apply a small amount of solder to the pin until it's covered with a thin layer.
Step 4: Solder the Pins
- Now it's time to solder the pins to the PCB. Heat the soldering iron and touch it to the pin and the pad on the PCB at the same time.
- Once the pin and the pad are hot, apply a small amount of solder to the joint. The solder should flow smoothly and cover the pin and the pad.
- Repeat this process for each pin, making sure to keep the soldering iron in contact with the pin and the pad for a few seconds to ensure a good connection.
Step 5: Check the Solder Joints
- After soldering all the pins, take a close look at the solder joints. They should be shiny and smooth, with no signs of cold solder joints (which look dull and grainy).
- If you see any cold solder joints, reheat the joint and add a little more solder.
- You can also use a multimeter to check the continuity of the connections.
Step 6: Clean Up
- Once you're satisfied with the solder joints, clean up any excess solder or flux. You can use a solder wick or a desoldering pump to remove any excess solder.
- Then, use a PCB cleaner or isopropyl alcohol to clean the PCB and remove any flux residue.
Tips and Tricks
- Use the Right Temperature: Make sure your soldering iron is set to the appropriate temperature for the type of solder you're using. If the temperature is too low, the solder won't flow properly. If it's too high, you can damage the PCB or the connector.
- Don't Overheat the Pins: When soldering, try to keep the soldering iron in contact with the pin and the pad for as short a time as possible. Overheating the pins can damage the connector or the PCB.
- Use Flux: Flux helps the solder flow and adhere to the pins and the PCB. Make sure to apply a small amount of flux to the pins and the pads before soldering.
- Practice Makes Perfect: Soldering takes practice, so don't be afraid to make mistakes. Start with a simple project and work your way up to more complex ones.
Conclusion
Soldering a Shrouded Header Connector may seem daunting at first, but with the right tools, materials, and techniques, it's a relatively simple process. By following the steps outlined in this guide, you should be able to solder a Shrouded Header Connector like a pro.
If you're in the market for high-quality Shrouded Header Connectors, look no further. We're a leading supplier of electronic connectors, and we offer a wide range of Shrouded Header Connectors to meet your needs. Whether you're looking for a specific size, pitch, or configuration, we've got you covered.
If you have any questions or would like to discuss your requirements, please don't hesitate to contact us. We're here to help you find the right connectors for your project and provide you with the best possible service.
References
- "Electronics Soldering for Beginners" by Mark Sparkfun
- "The Art of Electronics" by Paul Horowitz and Winfield Hill