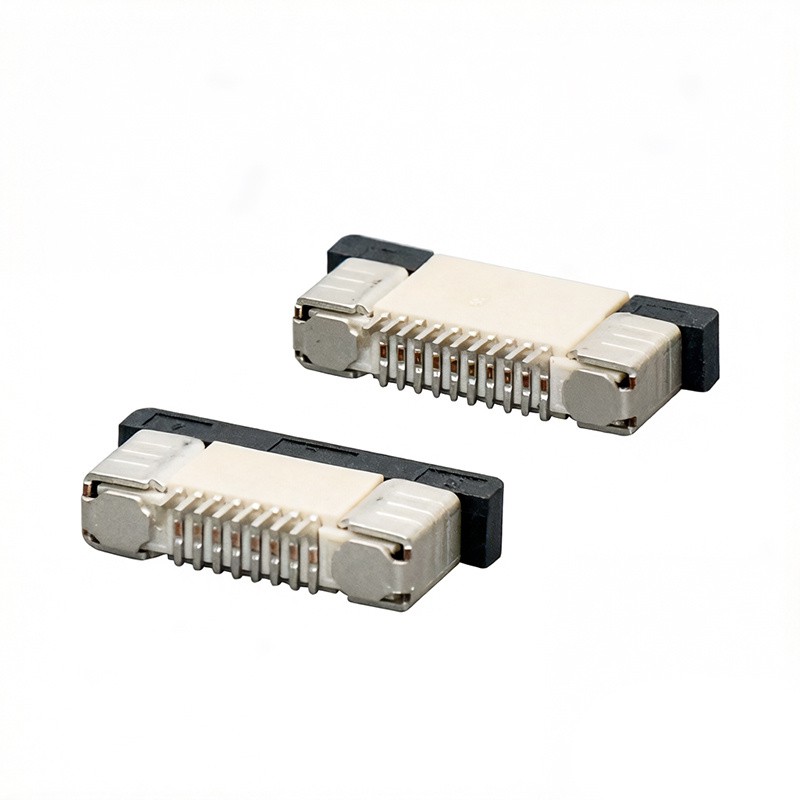
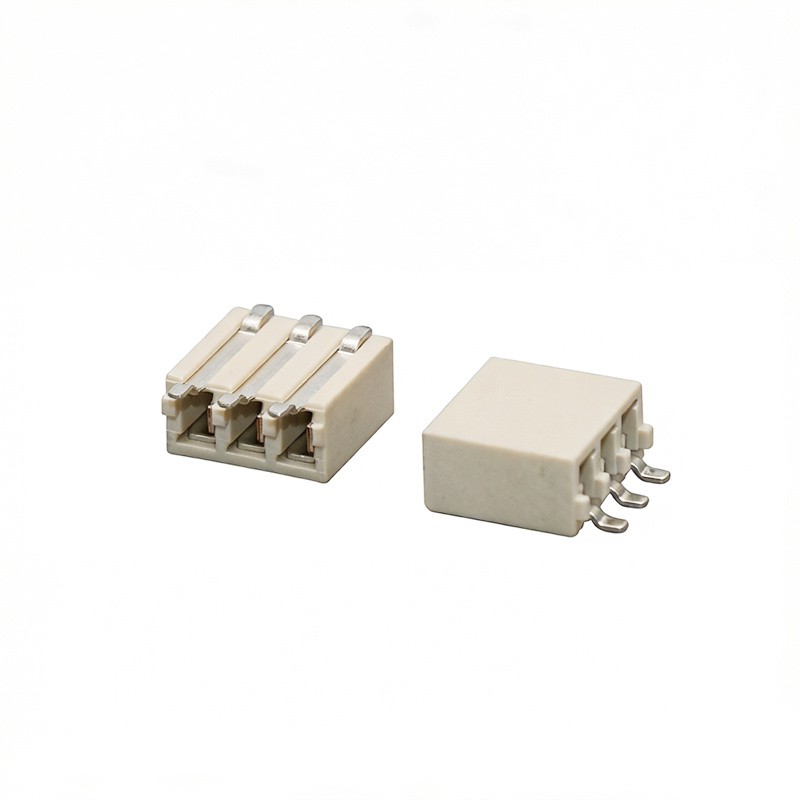
Troubleshooting a Jumper Header Connector can be a bit of a headache, but don't worry! As a Jumper Header Connector supplier, I've dealt with all sorts of issues over the years. In this blog, I'll share some tips and tricks on how to troubleshoot these connectors effectively.


Understanding Jumper Header Connectors
First off, let's talk a bit about what Jumper Header Connectors are. These are small but crucial components in electronic devices. They're used to make electrical connections between different parts of a circuit board. You can find them in all kinds of gadgets, from computers to industrial equipment.
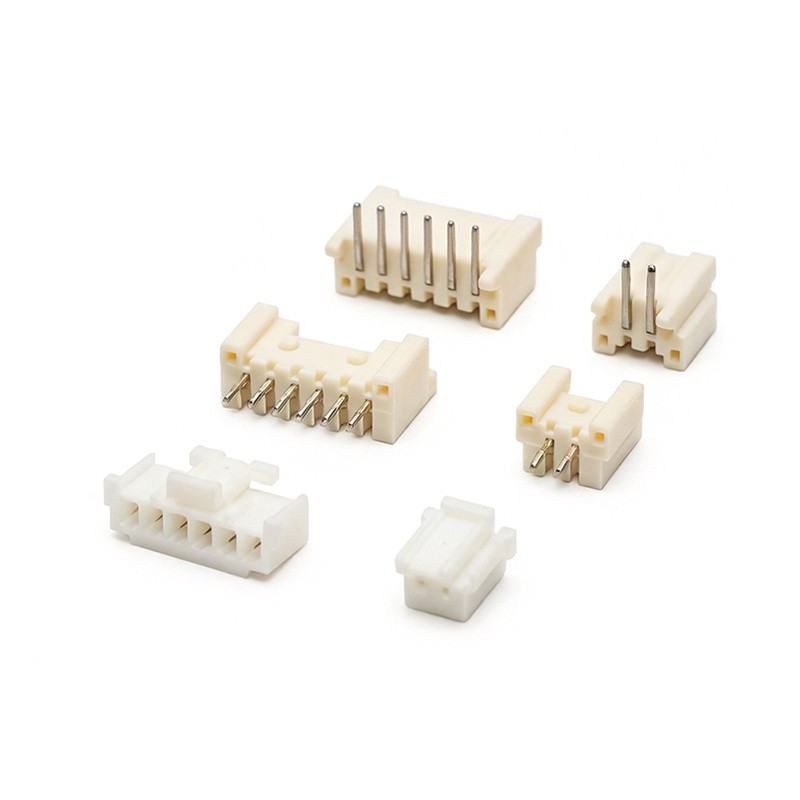
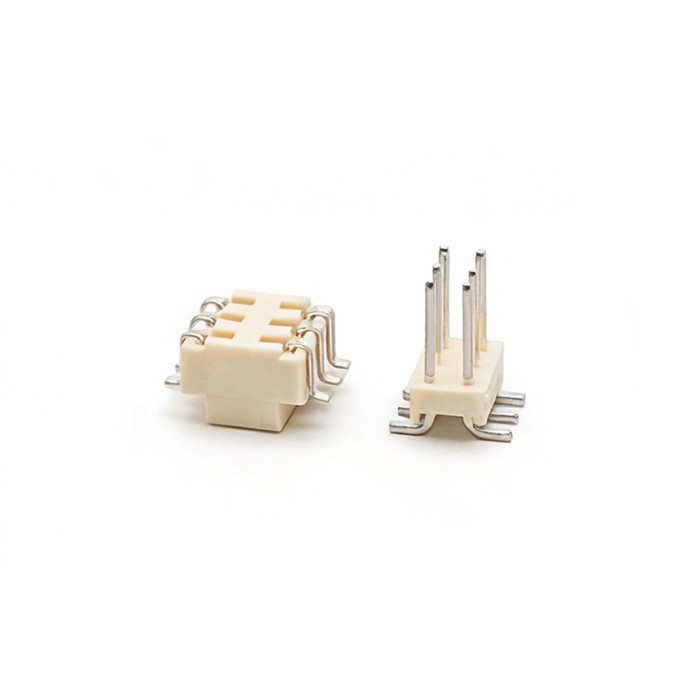
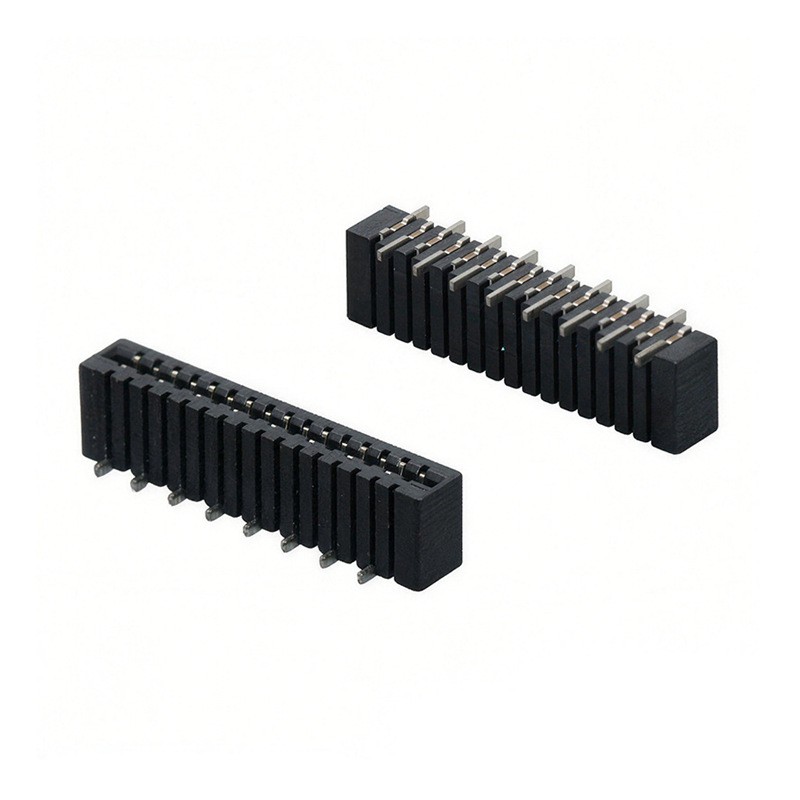
There are different types of Jumper Header Connectors, like the 2mm Header Connector and the Shrouded Header Connector. Each type has its own unique features and uses.
Common Issues with Jumper Header Connectors
Before we get into troubleshooting, let's look at some of the common problems you might encounter with Jumper Header Connectors:
- Loose Connections: This is one of the most common issues. Over time, the connector might become loose, causing intermittent electrical connections. This can lead to malfunctions in the device.
- Pin Damage: The pins on the connector can get bent or damaged. This can prevent the connector from making a proper electrical connection.
- Corrosion: If the connector is exposed to moisture or other corrosive substances, it can develop corrosion. Corrosion can increase the resistance in the electrical connection, leading to poor performance.
- Incorrect Installation: Sometimes, the connector might be installed incorrectly. This can cause problems with the electrical connection and might even damage the connector or the circuit board.
Troubleshooting Steps
Step 1: Check for Loose Connections
The first thing you should do is check if the connector is loose. Gently wiggle the connector to see if it moves. If it does, try to push it back into place firmly. Make sure it's properly seated in the socket.
If the connector still seems loose, you might need to use a small amount of adhesive or a locking mechanism to secure it. Just be careful not to use too much adhesive, as it could cause other problems.
Step 2: Inspect the Pins
Next, take a close look at the pins on the connector. Use a magnifying glass if necessary. Check for any signs of damage, such as bent or broken pins.
If you find a bent pin, you can try to straighten it using a pair of fine-tipped tweezers. Be very careful not to break the pin. If a pin is broken, you might need to replace the connector.
Step 3: Look for Corrosion
Inspect the connector for any signs of corrosion. Corrosion usually looks like a green or brownish substance on the pins or the connector body.
If you find corrosion, you can try to clean it using a small amount of isopropyl alcohol and a cotton swab. Gently rub the affected area to remove the corrosion. Make sure to dry the connector thoroughly before reconnecting it.
Step 4: Verify the Installation
Check if the connector is installed correctly. Make sure the pins are aligned with the corresponding holes on the circuit board. If the connector is not installed correctly, remove it and reinstall it carefully.
Step 5: Test the Connection
Once you've completed the above steps, it's time to test the connection. Use a multimeter to measure the resistance between the pins. If the resistance is too high or if there's no continuity, there might still be a problem with the connection.
If the test results are not satisfactory, go back and repeat the troubleshooting steps. You might need to try a different approach or replace the connector.
Preventive Measures
To avoid future problems with Jumper Header Connectors, here are some preventive measures you can take:
- Proper Installation: Make sure to install the connector correctly. Follow the manufacturer's instructions carefully.
- Regular Inspection: Periodically inspect the connectors for any signs of damage or corrosion. Catching problems early can prevent more serious issues down the line.
- Environmental Protection: Keep the connectors away from moisture, dust, and other corrosive substances. Use protective covers if necessary.
- Quality Components: Use high-quality Jumper Header Connectors from a reliable supplier. This can reduce the likelihood of problems occurring.
Conclusion
Troubleshooting a Jumper Header Connector might seem daunting at first, but with the right approach, it can be a relatively straightforward process. By following the steps outlined in this blog, you should be able to identify and fix most common problems.
If you're still having trouble or if you need a new Jumper Header Connector, don't hesitate to reach out. As a supplier, we have a wide range of connectors available, including the Jumper Header Connector. We're here to help you find the right solution for your needs.
References
- Electronic Component Handbook
- Manufacturer's Guides for Jumper Header Connectors