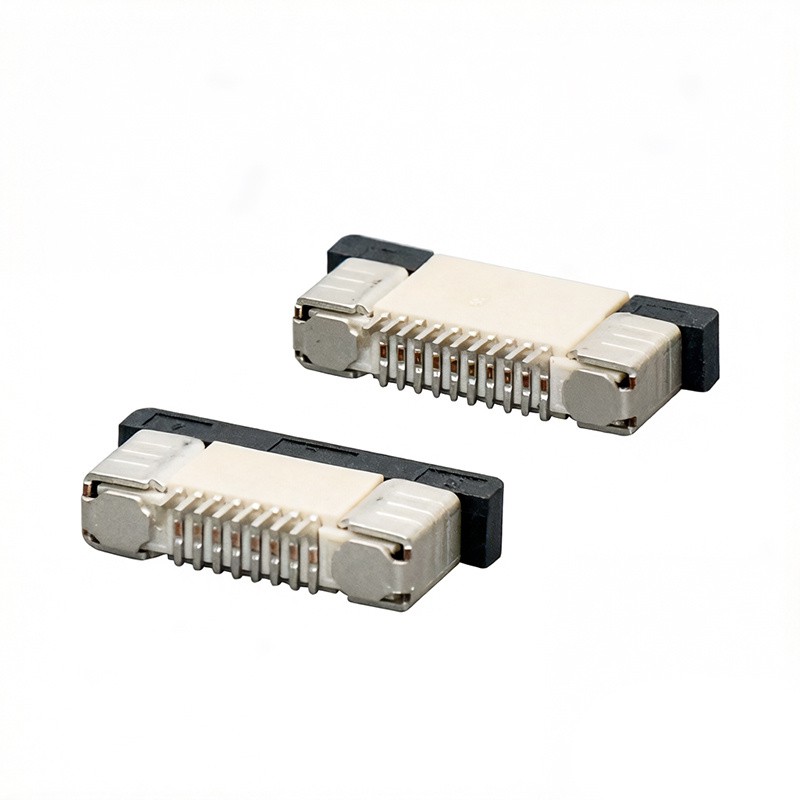
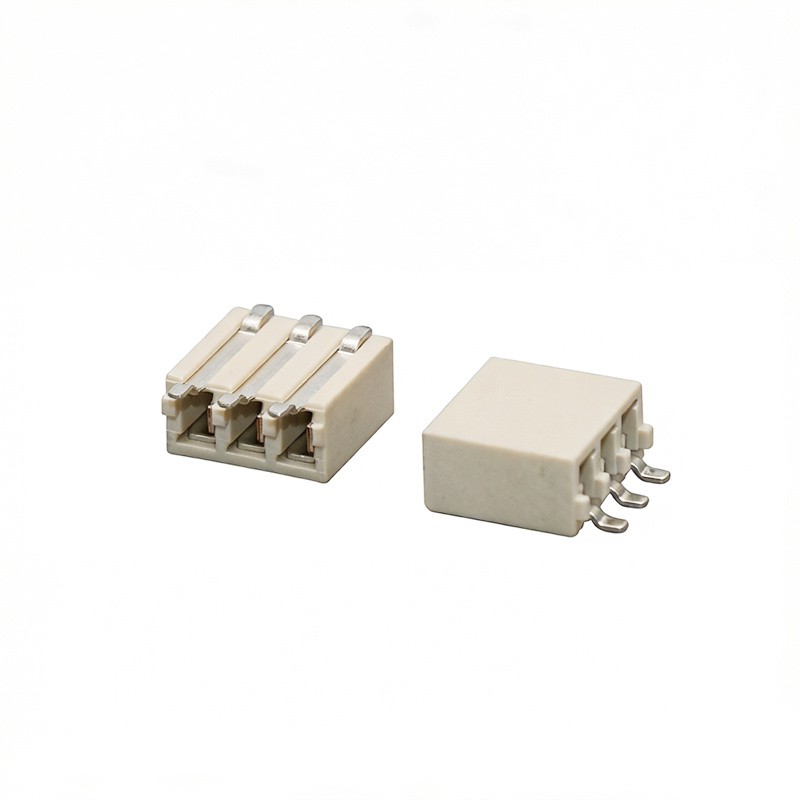
Cleaning automotive headlight connectors is a crucial maintenance task that can significantly enhance the performance and longevity of your vehicle's lighting system. As a leading supplier of automotive headlight connectors, I understand the importance of proper cleaning and maintenance. In this blog post, I'll share my insights on how to clean automotive headlight connectors effectively.
Why Clean Automotive Headlight Connectors?
Over time, automotive headlight connectors can accumulate dirt, grime, oxidation, and corrosion. These contaminants can impede the flow of electricity, leading to dim or flickering headlights, or even complete failure. Cleaning the connectors regularly can prevent these issues and ensure that your headlights function optimally.
Tools and Materials Needed
Before you start cleaning, gather the following tools and materials:
- Safety Gloves: To protect your hands from chemicals and sharp edges.
- Safety Glasses: To shield your eyes from debris.
- Wire Brush: A small wire brush can be used to remove dirt and corrosion from the connectors.
- Contact Cleaner: A specialized contact cleaner is designed to remove dirt, grease, and oxidation from electrical contacts.
- Compressed Air: Compressed air can be used to blow out any loose debris from the connectors.
- Microfiber Cloth: A soft microfiber cloth is ideal for wiping down the connectors after cleaning.
Step-by-Step Cleaning Process
Step 1: Disconnect the Battery
Before you begin cleaning, it's essential to disconnect the vehicle's battery to prevent any electrical shock or short circuits. Locate the battery and use a wrench to loosen the negative terminal. Remove the negative cable from the battery and set it aside.
Step 2: Locate the Headlight Connectors
The headlight connectors are typically located behind the headlight assembly. Open the hood of your vehicle and locate the headlight housing. The connectors are usually attached to the back of the headlight bulb.
Step 3: Remove the Headlight Connectors
Gently pull the connectors away from the headlight bulbs. Be careful not to pull too hard, as this can damage the connectors or the bulbs. If the connectors are stuck, you can use a small flathead screwdriver to gently pry them loose.
Step 4: Inspect the Connectors
Once you have removed the connectors, inspect them for any signs of damage, such as cracks, breaks, or corrosion. If you notice any damage, it's best to replace the connectors to ensure proper electrical contact.


Step 5: Clean the Connectors
- Use a Wire Brush: Use a small wire brush to gently scrub the connectors to remove any dirt, grime, or corrosion. Be careful not to scratch the connectors, as this can damage the electrical contacts.
- Apply Contact Cleaner: Spray the contact cleaner onto the connectors and let it sit for a few minutes. The contact cleaner will dissolve any remaining dirt and oxidation.
- Blow Out Debris: Use compressed air to blow out any loose debris from the connectors. Make sure to blow out all the crevices and corners of the connectors.
- Wipe Down the Connectors: Use a microfiber cloth to wipe down the connectors and remove any remaining cleaner or debris. Make sure the connectors are completely dry before reinstalling them.
Step 6: Reinstall the Headlight Connectors
Once the connectors are clean and dry, carefully reinstall them onto the headlight bulbs. Make sure the connectors are securely attached and that there is a good electrical connection.
Step 7: Reconnect the Battery
After you have reinstalled the headlight connectors, reconnect the negative cable to the battery and tighten the terminal with a wrench.
Tips for Maintaining Clean Headlight Connectors
- Regular Inspections: Regularly inspect your headlight connectors for any signs of dirt, corrosion, or damage. If you notice any issues, clean or replace the connectors as soon as possible.
- Use Dielectric Grease: Applying a thin layer of dielectric grease to the connectors can help prevent oxidation and corrosion. Dielectric grease is a non-conductive substance that protects the electrical contacts from moisture and contaminants.
- Keep the Connectors Dry: Avoid getting the connectors wet, as this can cause corrosion. If the connectors do get wet, dry them thoroughly before reinstalling them.
Our Product Offerings
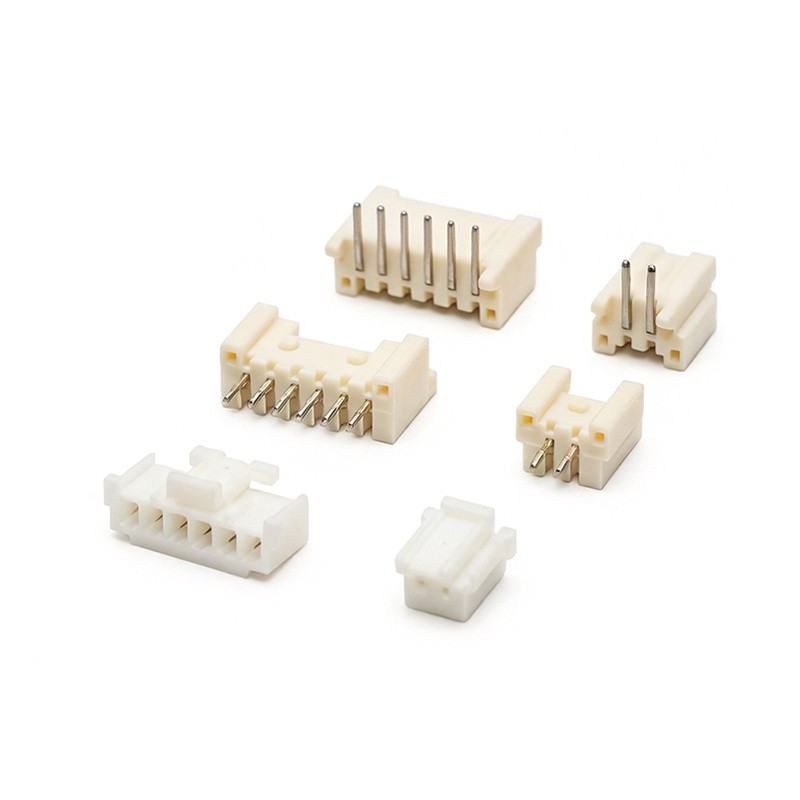
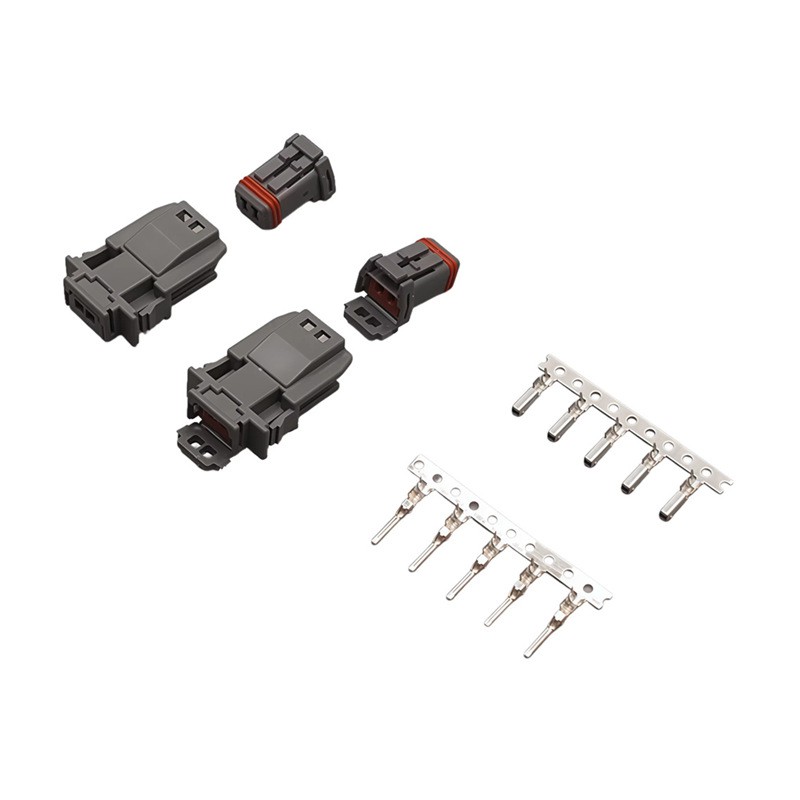
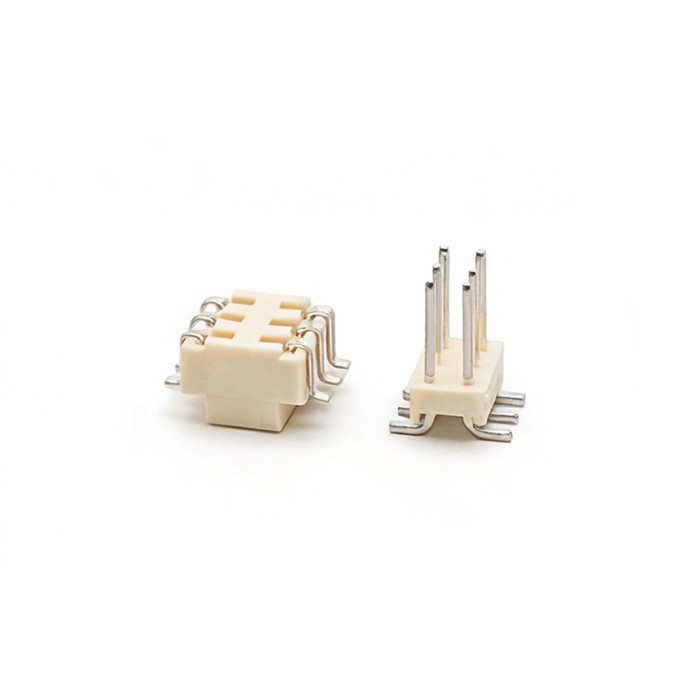
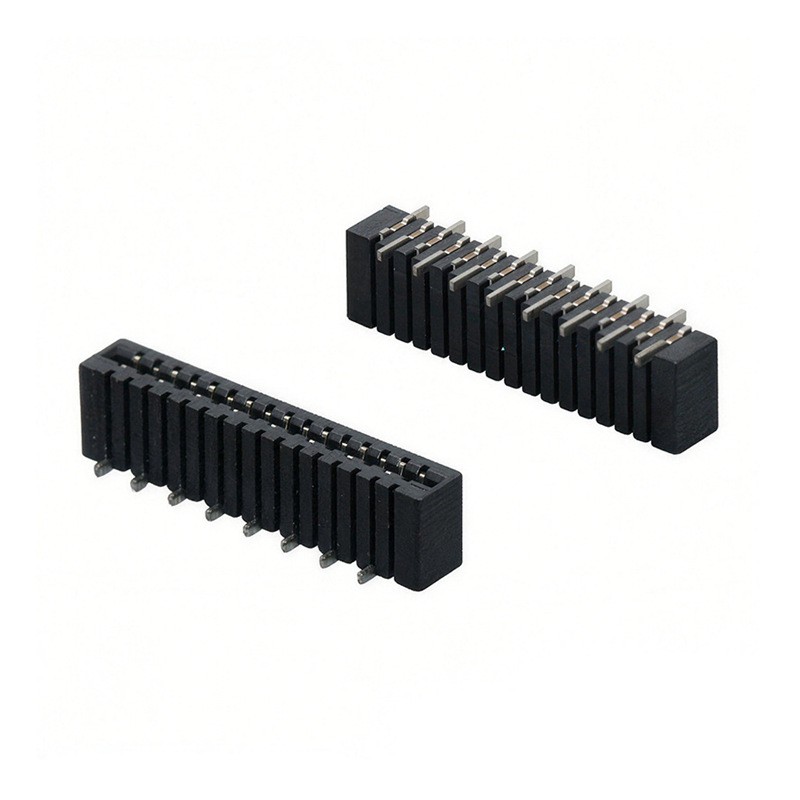
As a trusted supplier of automotive headlight connectors, we offer a wide range of high-quality products to meet your needs. Our product portfolio includes Car Headlight Socket Types, 1.0mm Pitch Connector, and Automotive Light Connectors. Our connectors are designed to provide reliable electrical connections and ensure optimal performance.
Conclusion
Cleaning automotive headlight connectors is a simple yet effective way to maintain the performance and longevity of your vehicle's lighting system. By following the steps outlined in this blog post and using the right tools and materials, you can keep your headlight connectors clean and functioning properly. If you have any questions or need assistance with your automotive headlight connectors, please don't hesitate to contact us. We are here to help you find the right solutions for your needs.
References
- "Automotive Electrical Systems" by Robert Bosch GmbH.
- "Automotive Lighting Technology" by SAE International.