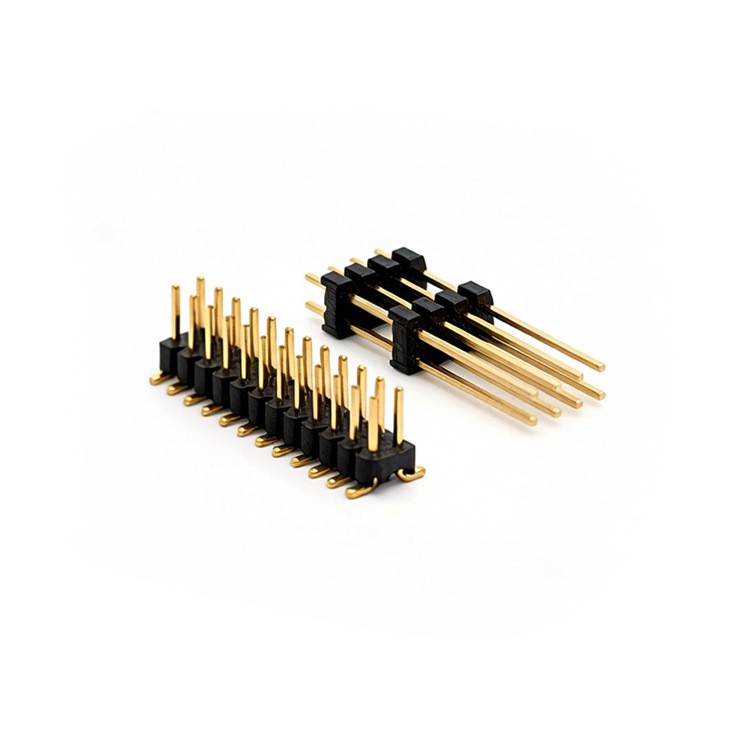
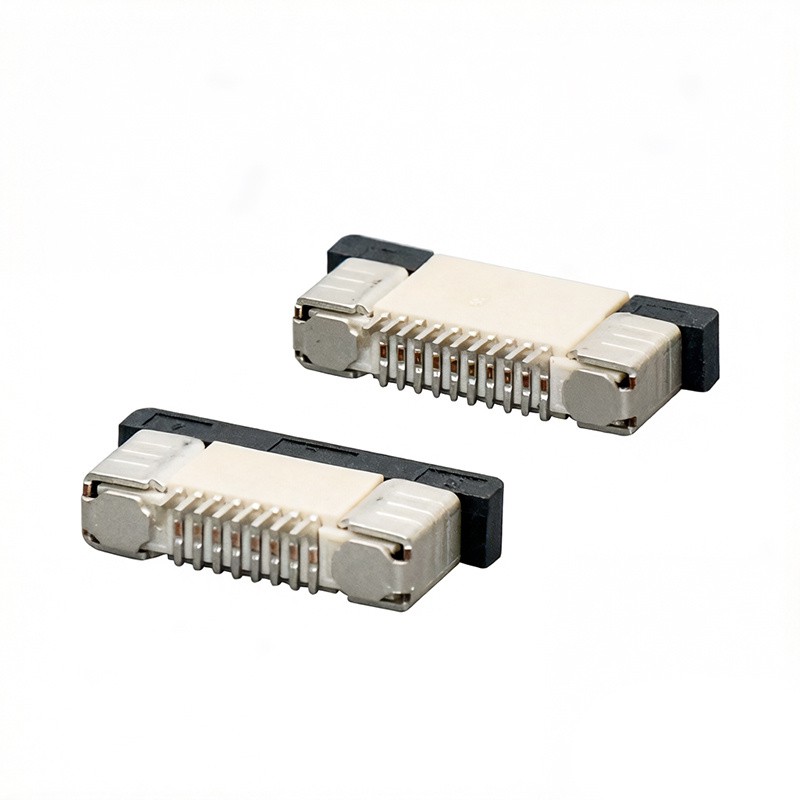
Ensuring the proper alignment of a right angle header connector is crucial in various electronic applications. As a supplier of Right Angle Header Connector, I understand the significance of this process and am here to share some valuable insights on how to achieve it.
Understanding the Right Angle Header Connector
Before delving into the alignment process, it's essential to have a clear understanding of the right angle header connector itself. These connectors are designed to provide a right - angled connection between two circuit boards or components. They are commonly used in applications where space is limited, and a 90 - degree orientation of the connection is required.
The right angle header connector typically consists of a housing and a set of pins. The pins are inserted into the housing and are designed to make electrical contact with corresponding sockets on the mating component. The housing provides mechanical support and ensures the proper positioning of the pins.
Importance of Proper Alignment
Proper alignment of the right angle header connector is of utmost importance for several reasons. Firstly, it ensures reliable electrical connections. Misaligned connectors can lead to poor contact, which may result in intermittent signals, electrical shorts, or even complete failure of the electronic device.
Secondly, proper alignment helps in reducing mechanical stress on the connector and the circuit board. When the connector is not aligned correctly, it can put excessive stress on the pins and the surrounding components, which may cause damage over time.
Steps to Ensure Proper Alignment
1. Prepare the Components
Before attempting to align the right angle header connector, it's important to prepare the components properly. This includes cleaning the mating surfaces of the connector and the circuit board. Any dirt, dust, or debris on these surfaces can interfere with the alignment and the electrical connection.
Use a clean, dry cloth or a suitable cleaning agent to remove any contaminants. Make sure that the pins of the connector are straight and not bent. If any pins are bent, carefully straighten them using a pair of fine - tipped tweezers.
2. Use Alignment Guides
Many right angle header connectors come with alignment guides or keying features. These features are designed to ensure that the connector can only be inserted in the correct orientation. For example, some connectors have a notch or a key on the housing that corresponds to a matching feature on the mating component.
When inserting the connector, make sure to align these guides correctly. This will help in achieving a proper alignment and prevent incorrect insertion.
3. Visual Inspection
Before fully inserting the connector, perform a visual inspection. Check that the pins of the connector are lined up with the corresponding sockets on the mating component. Make sure that the connector is perpendicular to the circuit board and that there are no visible signs of misalignment.
If possible, use a magnifying glass or a microscope to get a closer look at the alignment. This can help in detecting any minor misalignments that may not be visible to the naked eye.
4. Insertion Process
When inserting the right angle header connector, apply gentle and even pressure. Start by inserting one end of the connector into the mating component and then gradually insert the other end. Make sure that the connector is inserted all the way until it is fully seated.
Avoid using excessive force, as this can damage the pins or the housing of the connector. If you encounter any resistance during the insertion process, stop and check for misalignment.
5. Secure the Connector
Once the connector is inserted, it's important to secure it properly. Some connectors have locking mechanisms, such as clips or latches, that can be used to hold the connector in place. Make sure to engage these locking mechanisms to prevent the connector from coming loose.
In some cases, additional securing methods, such as soldering or using adhesive, may be required. However, these methods should be used with caution, as they can also cause damage if not done correctly.
Common Alignment Issues and Solutions
1. Bent Pins
Bent pins are a common alignment issue. As mentioned earlier, if you notice any bent pins, carefully straighten them using a pair of fine - tipped tweezers. Make sure to straighten the pins as accurately as possible to ensure proper alignment.
2. Misaligned Keying Features
If the keying features of the connector are misaligned, it may be due to manufacturing defects or damage during handling. In such cases, check if the connector is the correct type for the mating component. If it is, try to realign the keying features by gently adjusting the position of the connector.
3. Inadequate Insertion
If the connector is not inserted fully, it may be due to misalignment or resistance. Check for any obstructions in the mating component and make sure that the pins are not bent. If necessary, remove the connector and try again, applying more even pressure during the insertion process.
Related Connectors
In addition to the right angle header connector, there are other types of header connectors that may be used in similar applications. For example, the Jumper Header Connector is often used to make temporary electrical connections between different points on a circuit board. The 2mm Header Connector is a smaller - sized connector that is suitable for applications where space is extremely limited.
These connectors also require proper alignment to ensure reliable electrical connections. The alignment principles discussed above can be applied to these connectors as well.
Conclusion
Ensuring the proper alignment of a right angle header connector is a critical step in the assembly of electronic devices. By following the steps outlined in this blog, you can minimize the risk of misalignment and ensure reliable electrical connections.
If you are in need of high - quality right angle header connectors or have any questions regarding alignment or other technical aspects, please feel free to contact us for a purchase negotiation. We are committed to providing the best products and services to meet your needs.


References
- "Electronic Connector Handbook", published by an industry - leading publisher.
- Technical documents provided by connector manufacturers.