Customizing an electronic connector is a meticulous process that requires a deep understanding of both the technical requirements and the specific application of the connector. As an electronic connector supplier, we have extensive experience in guiding our clients through the customization process. Here are the steps involved in customizing an electronic connector.


Step 1: Define the Requirements
The first step in customizing an electronic connector is to clearly define the requirements. This includes understanding the electrical, mechanical, and environmental specifications. Electrical requirements may involve parameters such as voltage, current, impedance, and signal integrity. For example, if you are working on a project that requires high - speed data transmission, you need to ensure that the connector can support the required data rate without significant signal loss.
Mechanical requirements pertain to the physical dimensions, shape, and mounting style of the connector. The connector must fit precisely into the intended application, whether it is a small handheld device or a large industrial equipment. Environmental requirements take into account factors such as temperature, humidity, vibration, and dust. For instance, connectors used in automotive applications need to withstand high temperatures and vibrations.
Step 2: Select the Connector Type
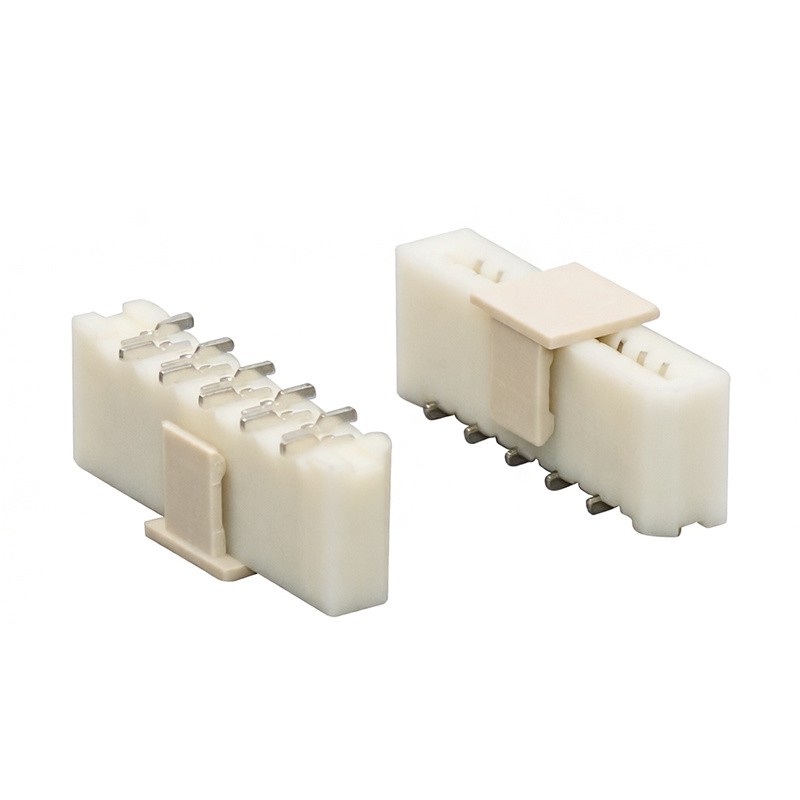
Based on the requirements defined in the previous step, the next step is to select the appropriate connector type. There are various types of electronic connectors available, each with its own unique features and applications.
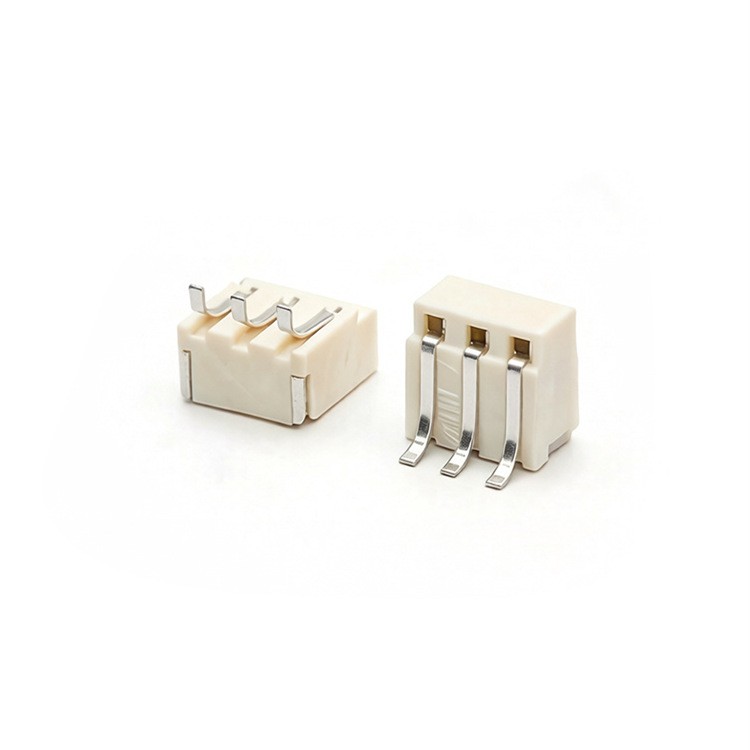
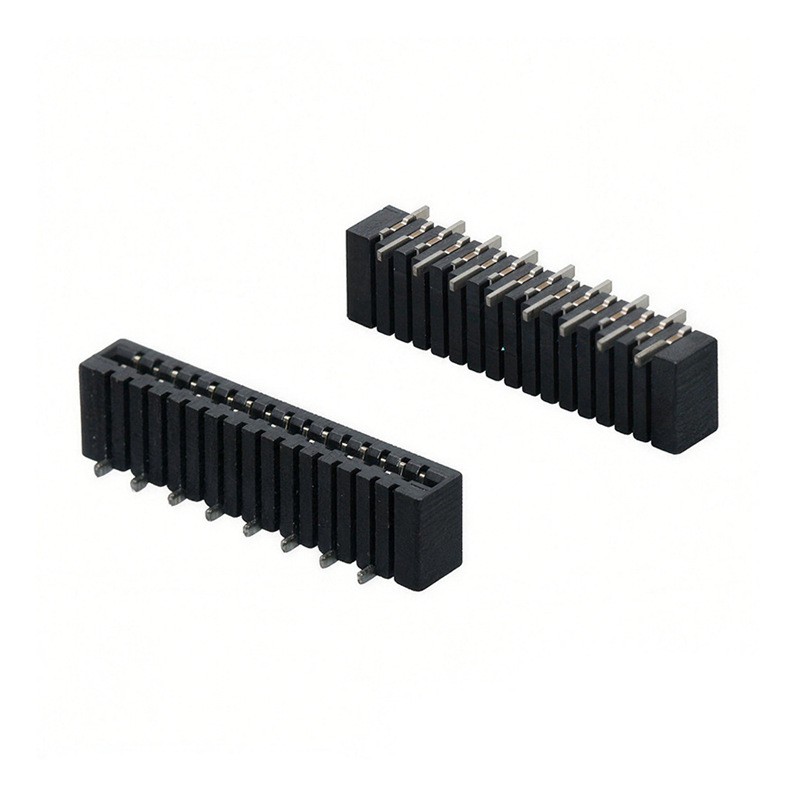
One popular type is the Jumper Header Connector. These connectors are commonly used for making electrical connections between printed circuit boards (PCBs). They are available in different pin counts and pitches, allowing for flexibility in design.
Another type is the Automotive Board To Board Connector. As the name suggests, these connectors are specifically designed for automotive applications. They are built to withstand the harsh conditions of the automotive environment, including high temperatures, vibrations, and electrical interference.
For applications that require high - current transmission, the High Current Board To Board Connector is a suitable choice. These connectors are designed to handle large amounts of current without overheating, making them ideal for power - hungry applications.
Step 3: Design the Connector
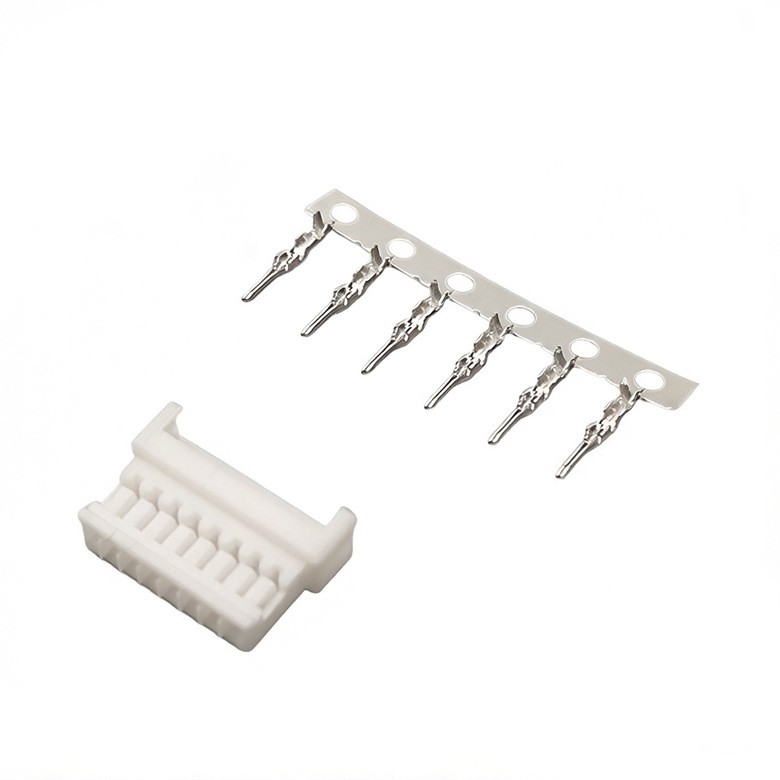
Once the connector type is selected, the next step is to design the connector. This involves creating a detailed design that meets all the requirements. The design process includes determining the internal structure of the connector, such as the arrangement of pins, contacts, and insulators.
The design also takes into account the manufacturing process. For example, the design should be optimized for ease of manufacturing, which can reduce costs and improve production efficiency. Computer - aided design (CAD) software is often used to create the design, allowing for precise modeling and simulation.
Step 4: Prototype Development
After the design is finalized, a prototype of the connector is developed. The prototype is a physical representation of the final product and is used to test the design and functionality. The prototype is typically manufactured using rapid prototyping techniques, such as 3D printing or CNC machining.
During the prototype development phase, various tests are conducted to ensure that the connector meets the specified requirements. These tests may include electrical tests to measure voltage, current, and impedance, as well as mechanical tests to check for durability and reliability. Any issues or problems identified during the testing phase are addressed, and the design is refined accordingly.
Step 5: Manufacturing and Quality Control
Once the prototype is approved, the connector goes into mass production. The manufacturing process involves a series of steps, including stamping, molding, plating, and assembly. Each step is carefully controlled to ensure the quality and consistency of the final product.
Quality control is an essential part of the manufacturing process. We use a variety of quality control measures, such as inspection, testing, and statistical process control, to ensure that every connector meets the highest standards. This includes checking for dimensional accuracy, electrical performance, and mechanical integrity.
Step 6: Packaging and Delivery
After the connectors are manufactured and pass the quality control tests, they are packaged for delivery. The packaging is designed to protect the connectors during transportation and storage. We use high - quality packaging materials to ensure that the connectors arrive at their destination in perfect condition.
We also offer flexible delivery options to meet the needs of our clients. Whether you need a small quantity for prototyping or a large volume for mass production, we can provide timely and reliable delivery.
Step 7: After - Sales Support
Our commitment to our clients does not end with the delivery of the connectors. We provide comprehensive after - sales support to ensure that our clients are satisfied with their purchase. This includes technical support, troubleshooting, and replacement of defective products.
If you have any questions or concerns about the customized electronic connectors, our team of experts is always ready to assist you. We are dedicated to providing the best possible service and ensuring the success of your projects.
Conclusion
Customizing an electronic connector is a complex process that requires careful planning, design, and manufacturing. By following these steps, we can ensure that the customized connectors meet the specific requirements of our clients and provide reliable performance.
If you are interested in customizing electronic connectors for your project, we invite you to contact us for a consultation. Our team of experts will work closely with you to understand your needs and provide the best solutions. We look forward to the opportunity to work with you and contribute to the success of your projects.
References
- "Electrical Connector Handbook" by Paul D. Rako
- "Connectors in Electronic Systems" by John W. Nilsson